Similar Posts
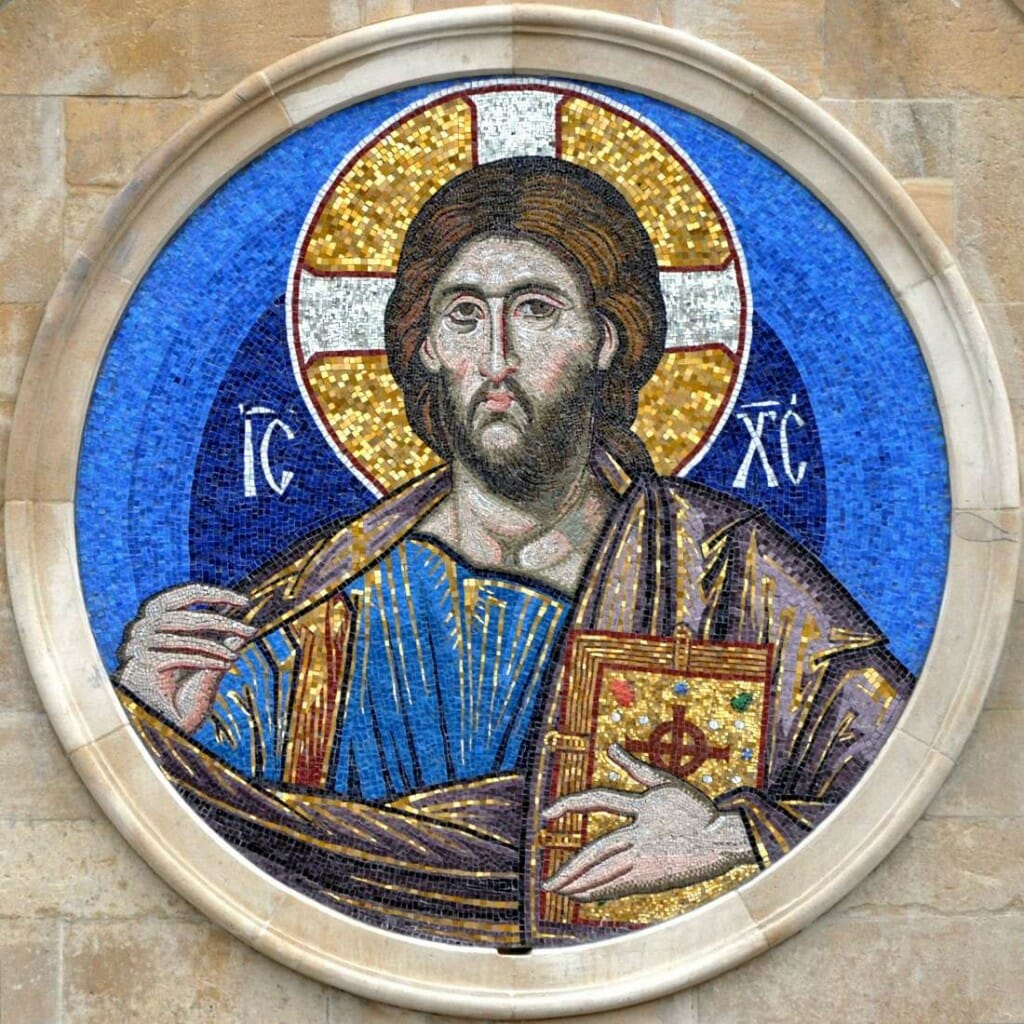
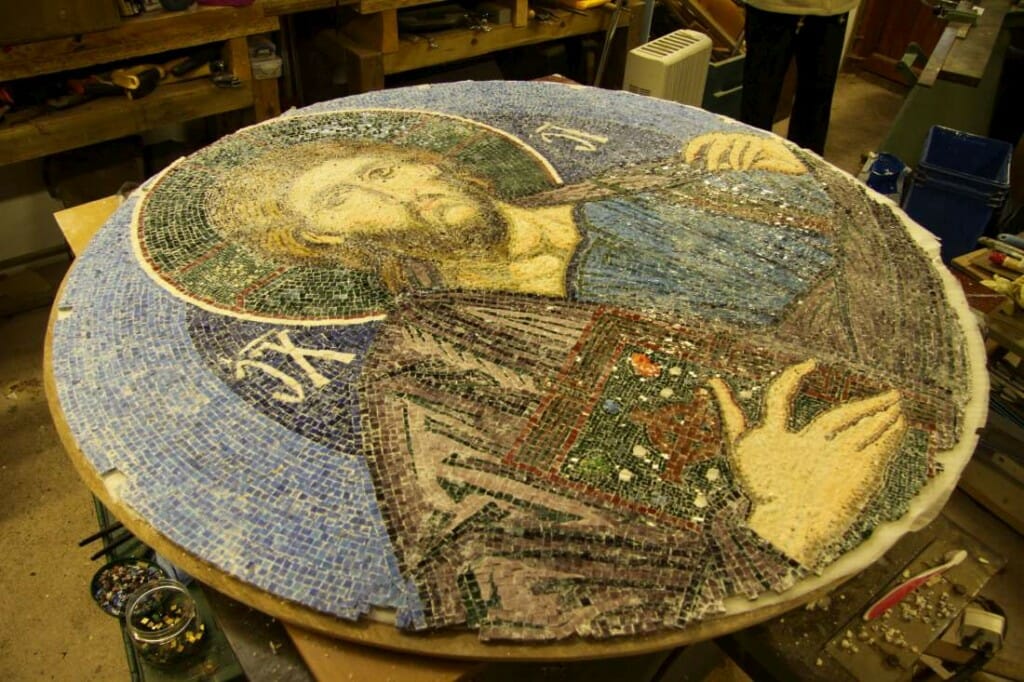
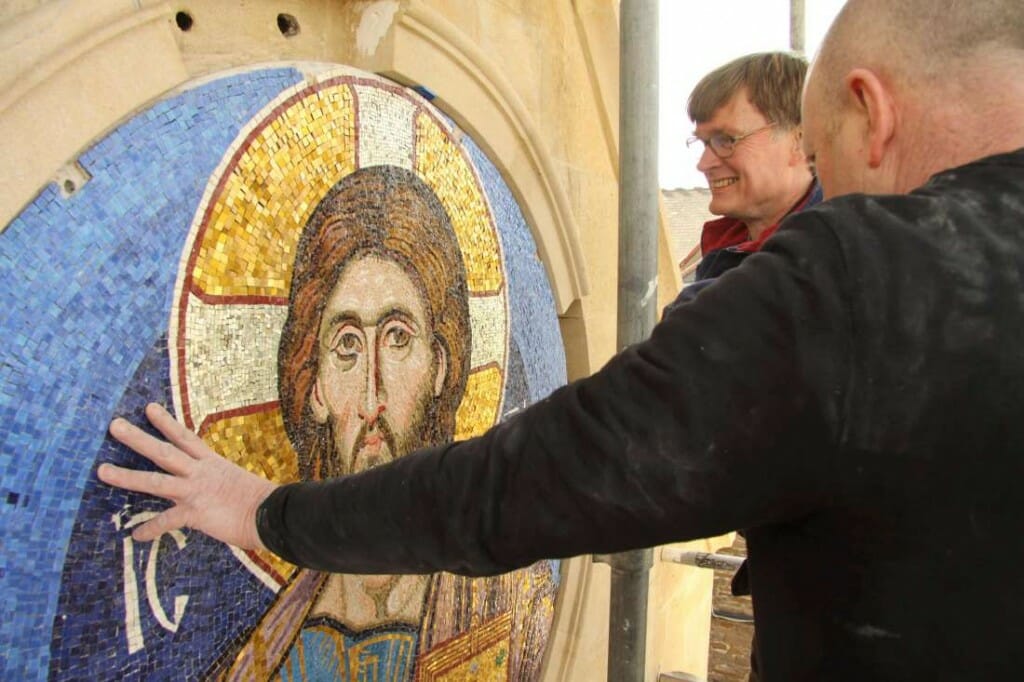
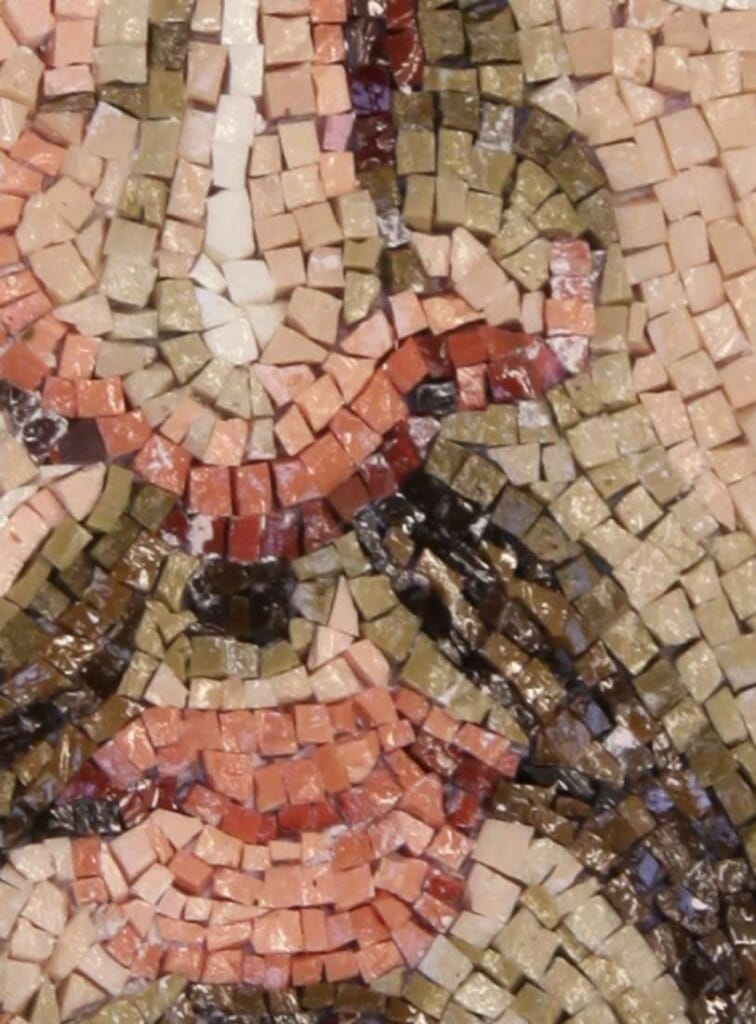
Having studied mosaics all over the world for many years I was delighted to receive a commission last year to create a mosaic for a church in Wales. I completed the illustrated mosaic of Christ Pantocrator in March this year. It is sited on the exterior wall of St Martin’s Church of Wales in Roath, Cardiff and measures 1.4 metres (4.6 feet) in diameter.
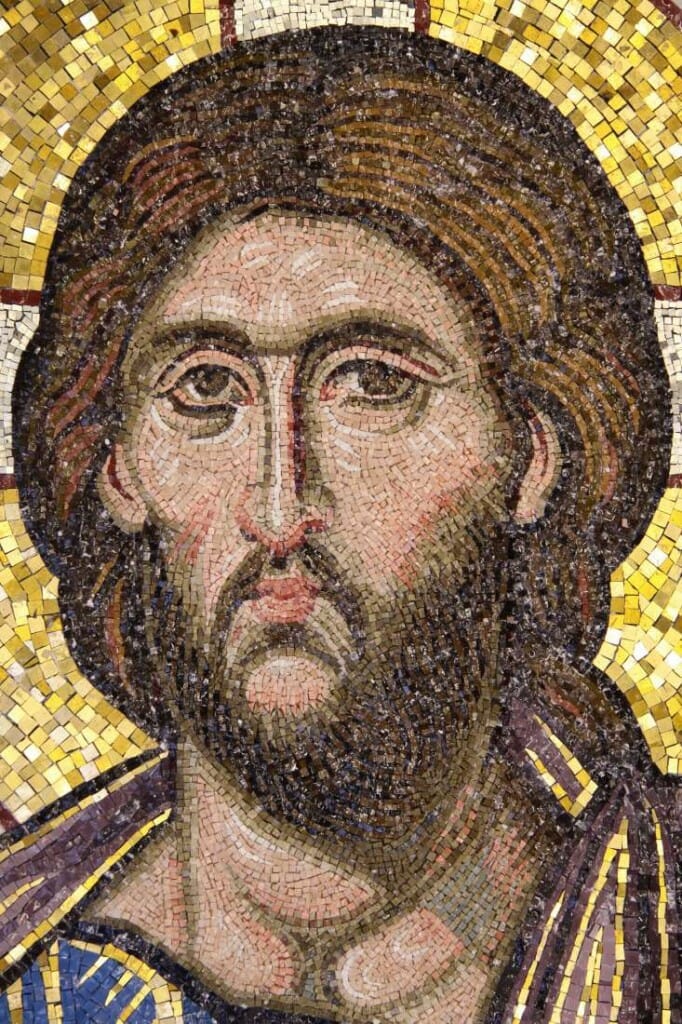
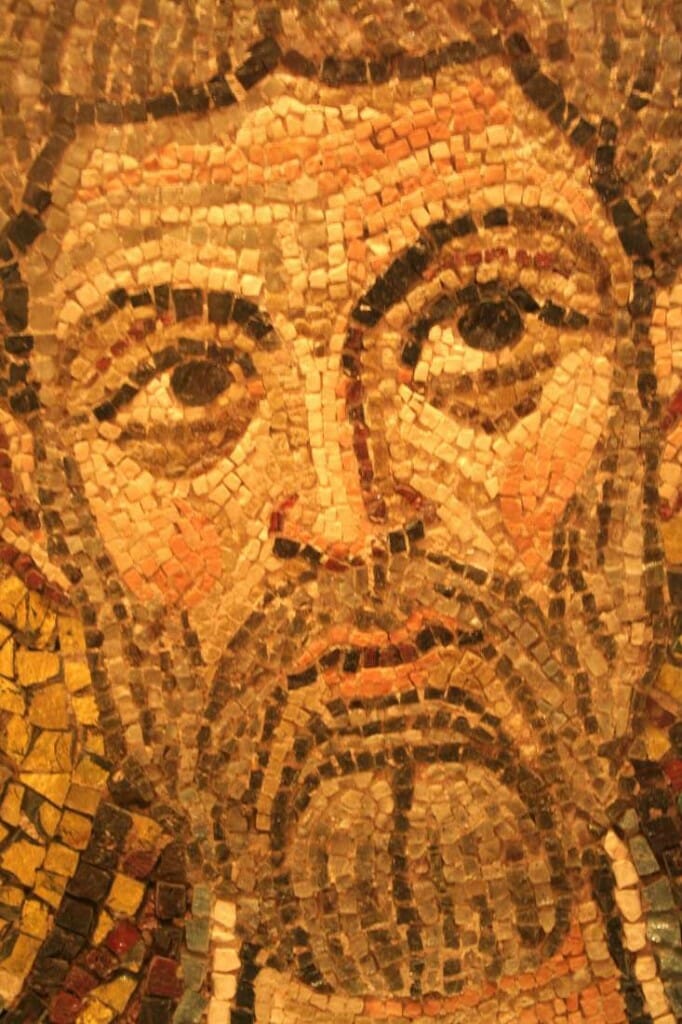
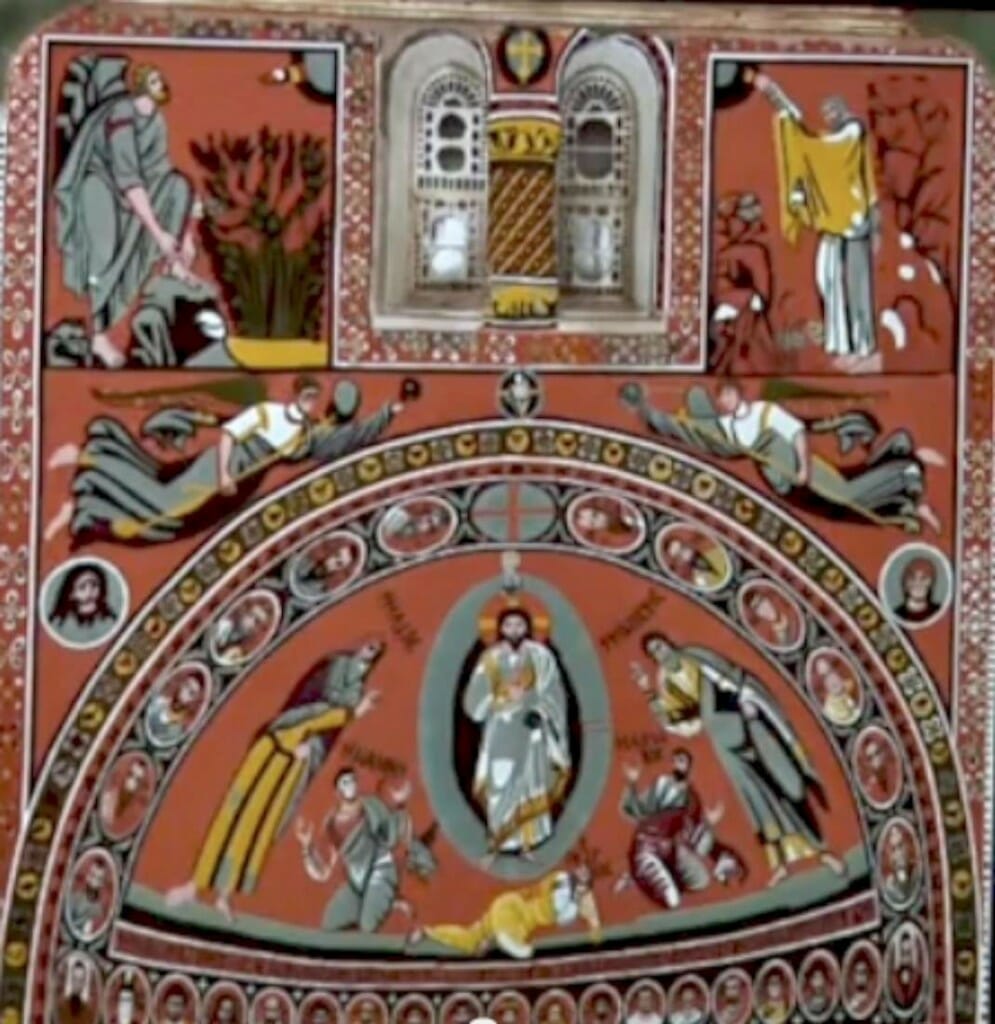
As this was the first mosaic I have made, I simply copied the mosaic face of Christ found in the south gallery in Hagia Sophia, Constantinople. The rest was adapted from a mosaic in the Sancta Sanctorum in Rome. In this article I will outline the technique used in its making, and then describe the chief characteristics of traditional old mosaics, many of which seem to be missing in much modern work.
I used the method I learned at the Mosaic Art School in Ravenna, Italy, where I took a five day course. This course is to be highly recommended for anyone wanting to learn mosaic! http://www.sira.it/mosaic/courses.htm
The direct transfer (or “Ravenna”) technique
Put briefly, the technique used to make the Roath mosaic was as follows:
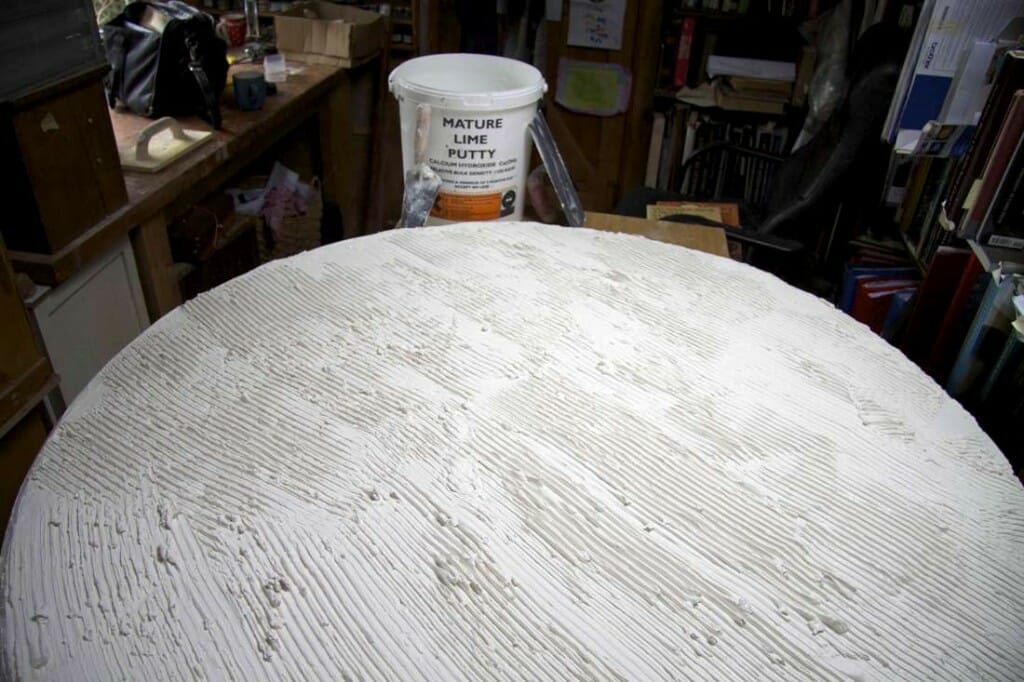
- 10mm (0.4 inches) of lime putty (clay can be used instead if the work is small) is spread onto a panel and left to dry sufficiently until it is somewhat like margarine – stiff but able to receive impressions easily. This is the temporary setting material for the mosaic.
- The mosaic design is drawn or transferred onto “Glassene” tracing paper, then the design is overdrawn on the back with water soluble marker pen to create an inverse image.
- The Glassene is then laid this inverse side down onto the lime putty. When the paper is removed a minute later the marker pen design is left imprinted on the putty. This is the positive image (not the inverse as in the reverse method).
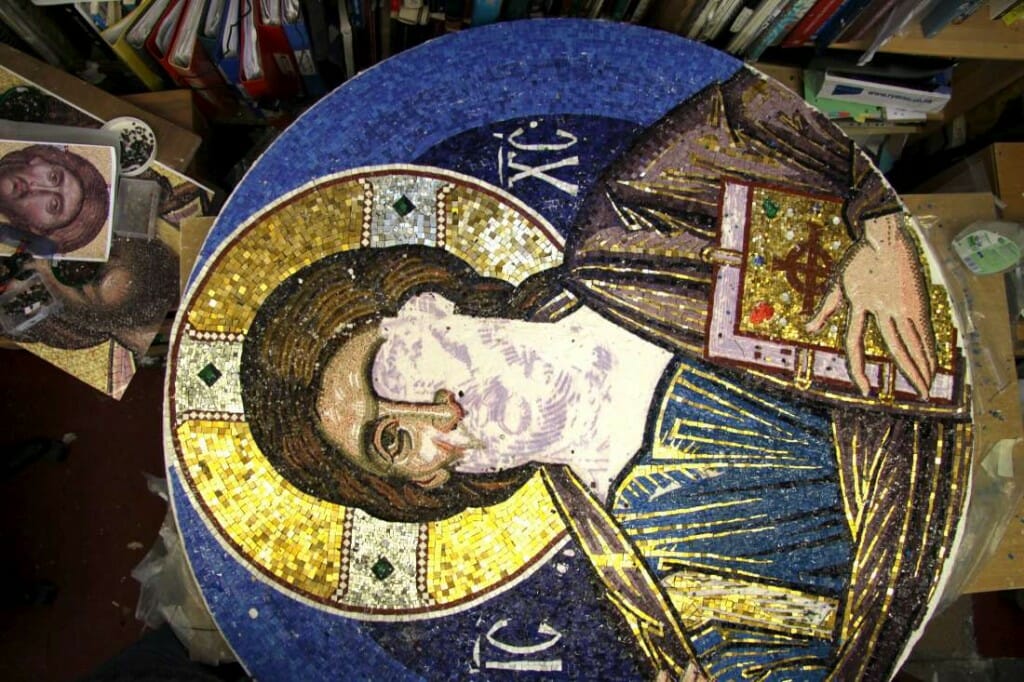
- The mosaic tesserae are then laid into this putty until the work is complete. Adjustments are easily made as the putty remains soft for weeks or even months if covered with plastic when one isn’t working. For the Cardiff work the smalti were purchased from Orsoni in Venice and from Mosaici Dona’Murano in Murano, Venice.
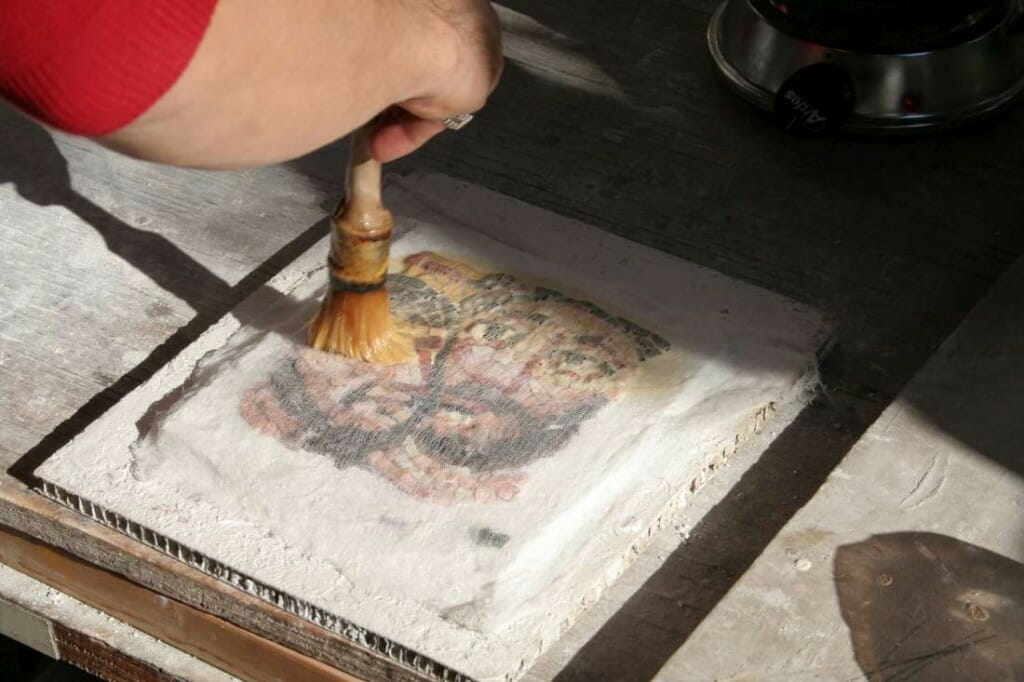
- When the work is complete an open weave cloth such as cheese cloth is laid on the surface and warm hide glue (animal glue) is scrubbed on. This is left to dry entirely – about two to three days normally.
- The cloth with the mosaic tesserae attached is carefully lifted from the lime layer, with the help of a long flexible blade cutting through any stubborn lime putty underneath.
- The mosaic is turned over back side up and any remaining putty removed.
- Mortar/adhesive is spread on the back of the mosaic and on the final surface and the mosaic is then carefully laid onto the surface and pressed from the centre out to remove bubbles. In the case of this particular work, the mosaic was glued to Hexlite (formerly known as Aerolam), a high strength lightweight material developed for aircraft, made of aluminium honeycomb sandwiched between two thicknesses of fibreglass.
- When the mortar is fully set, hot water is poured over cloth to soften and dissolve the animal glue. The cloth is removed, and any remaining glue scrubbed off with warm water and brush.
- If the work is made on a panel, as with the Cardiff mosaic, then the panel is attached to the wall, usually with stainless steel screws and the holes covered over with mosaic.
Advantages of the direct transfer technique
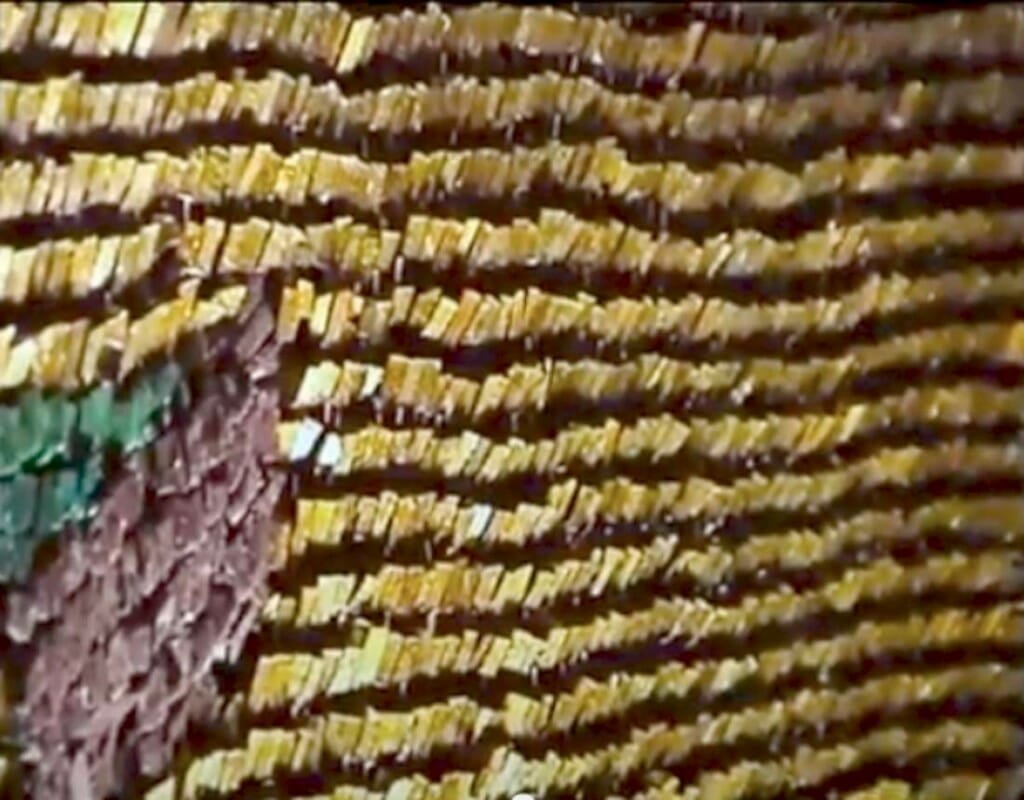
The advantages of this direct transfer method are chiefly that: (a) the work is executed in the positive but in the leisure of one’s studio rather than on site; (b) unlike direct laying on the wall, the temporary putty setting bed allows adjustments over a long period of time; (c) unlike the inverse method it permits the angling of individual tesserae since the glue impregnated cloth holds the tesserae not just in their place but also at their original angles. This preserves all the liveliness and undulations of the original setting and which one finds in all the great works of the past, which were laid directly onto the walls.
This variation in setting angles is in marked contrast to the more commonly used inverse method, which leaves the surface entirely flat. In that method the tesserae are temporarily glued face down onto paper or cloth laid on a flat surface, and then this is glued back-side to the wall and the paper or cloth removed. This technique means that not only does the mosaicist have to work in reverse but, more importantly, the final surface is flat. While such flatness is desirable for floors and tables, it leaves a somewhat lifeless surface when used on walls.
While the Ravenna technique is undoubtedly the best method for work executed in the studio, if whole walls are to be covered it is ideal to bed the tesserae directly onto the plastered wall on site. In this way the tesserae can be more accurately adjusted for the particular light and viewing conditions of each area in the church – something especially important for the gold.
Characteristics of traditional mosaic masterpieces
My observation of old mosaic masterpieces and my albeit limited experience in making this mosaic have shown me a number of principles behind the success of the great mosaics of the past. Most of these can be summarized in the words of Archimandrite Vasileios of Iviron once shared with me: “There is an imperfect perfection and a perfect imperfection.”
- In order to gain the maximum effect the mosaicists often adjusted the angles of gold tesserae in each area to suit the light direction and the viewing angle. Restorers of the famed transfiguration mosaic on Mt Sinai, for example, found that the gold tesserae on the triumphal arch were angled at 45 degrees to the vertical.
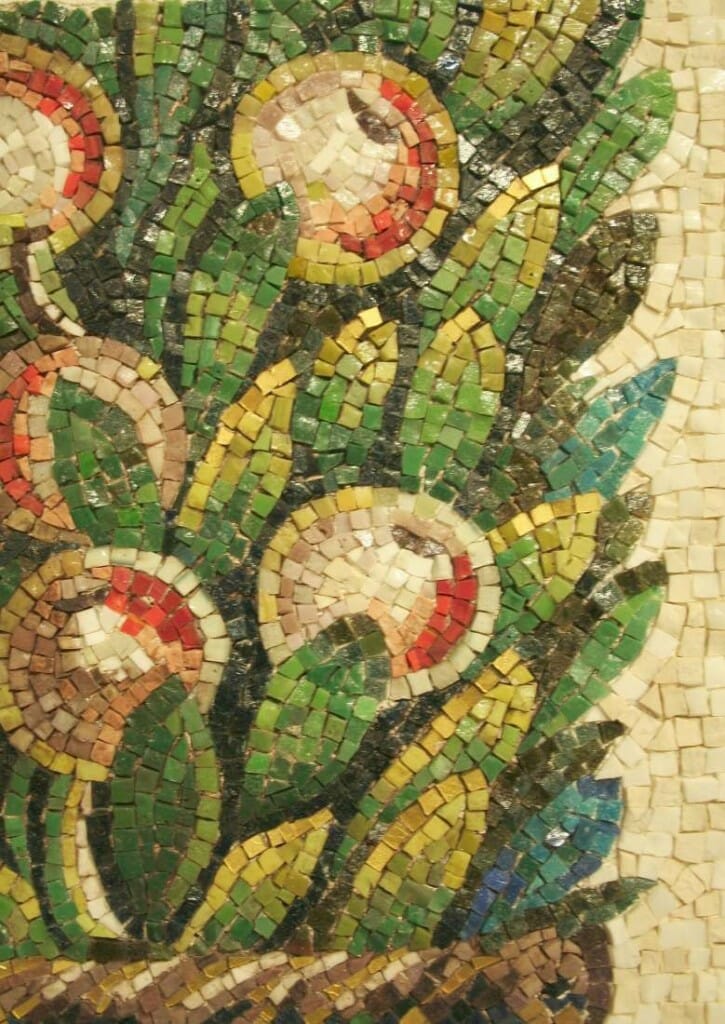
- All tesserae and not just the gold were not laid flat, but at variant angles. This was in part deliberate and in part a natural consequence of the direct technique. This produces a dance of light and playfulness infinitely superior to a flat surface.
- The surface of the wall was itself often undulating, which creates a more lively and natural surface than a perfectly flat wall.
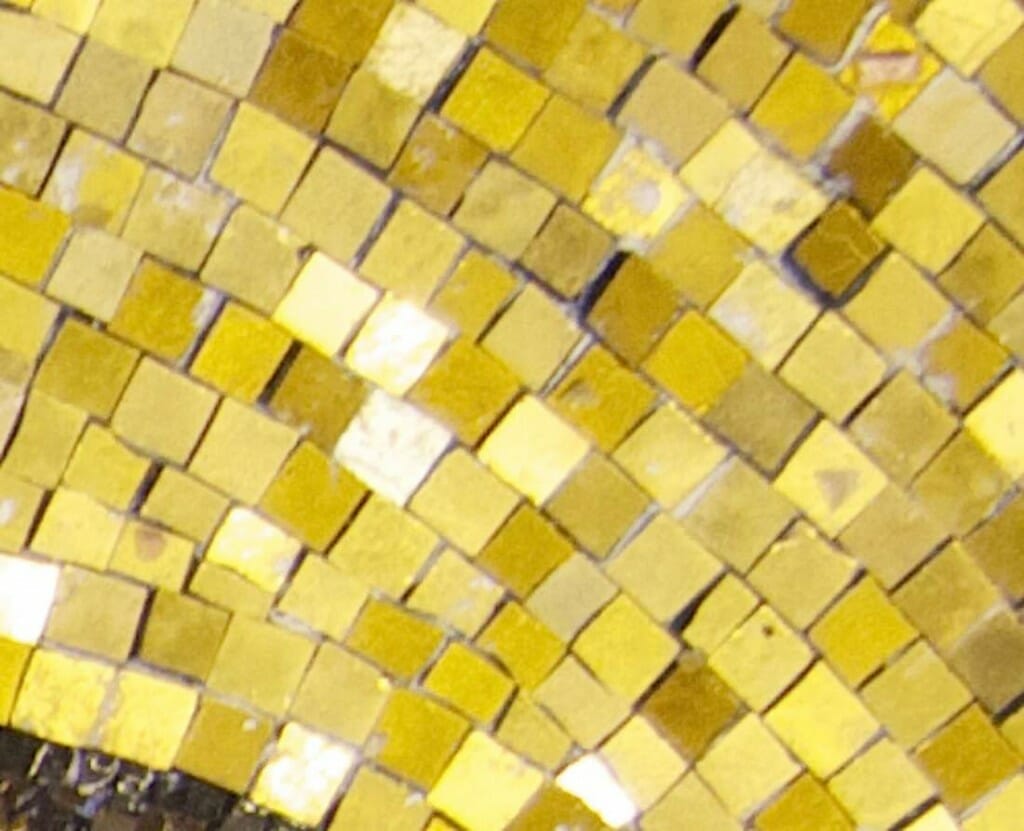
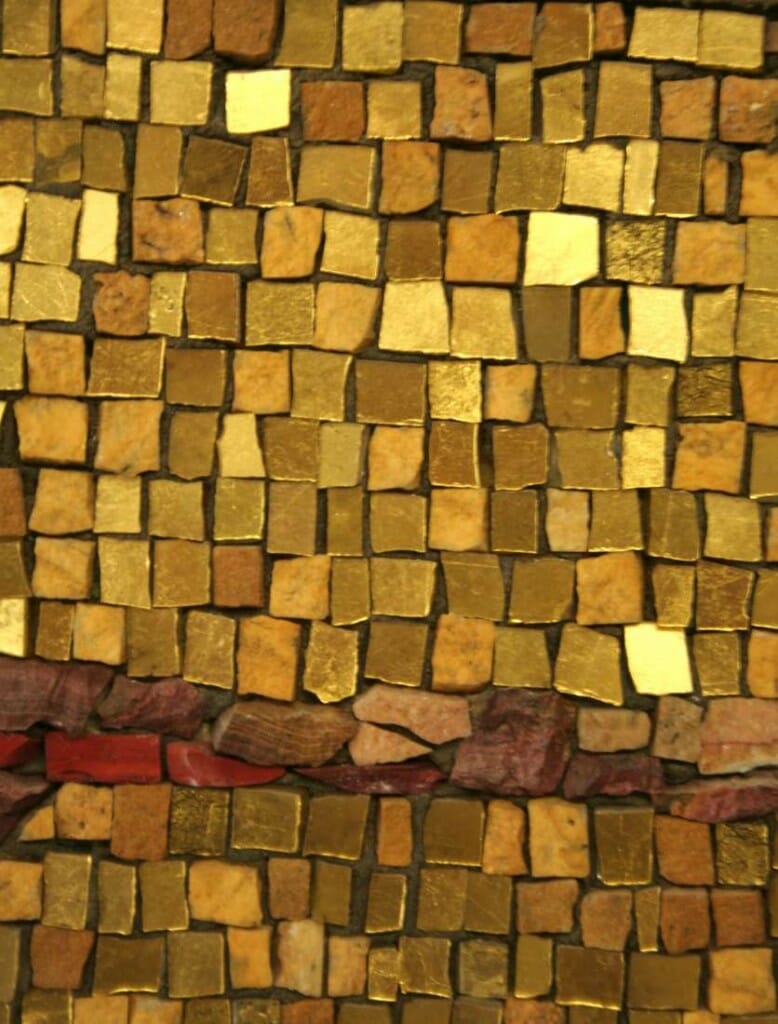
- Gold tesserae were not all the same shade. This may have been the natural result of the manufacturing process where wood fired kilns created variations in temperature, or it may have been a deliberate technique of mixing different gold shades. Either way, this produces a more lively surface than identically coloured gold pieces. I therefore bought three shades of gold and mixed them all together before laying.
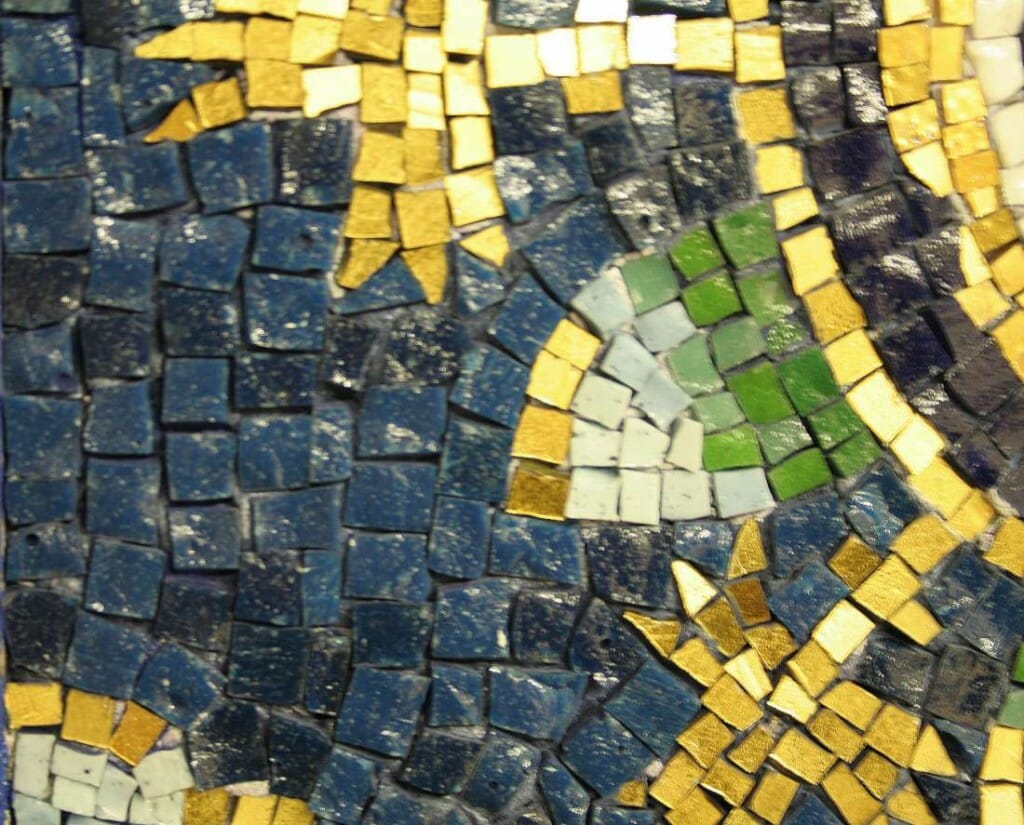
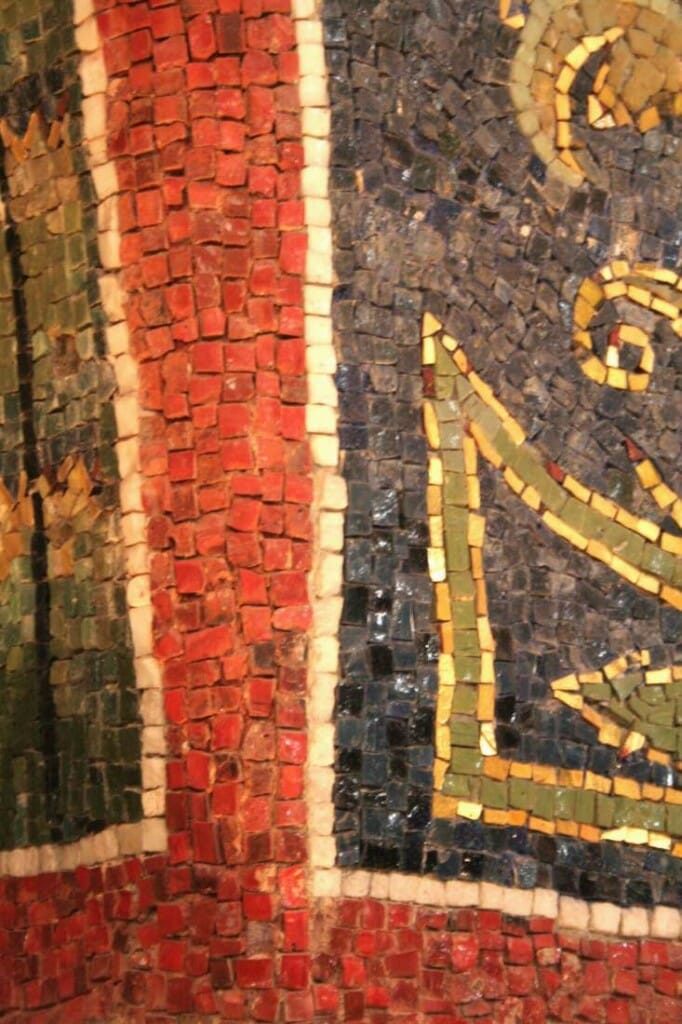
- Areas of the same hue were not usually made from tesserae all of the same shade or intensity. A blue background might be made up of up to four subtle gradations of blue. I therefore bought three grades of blue for each band of background blue and mixed these together before laying.
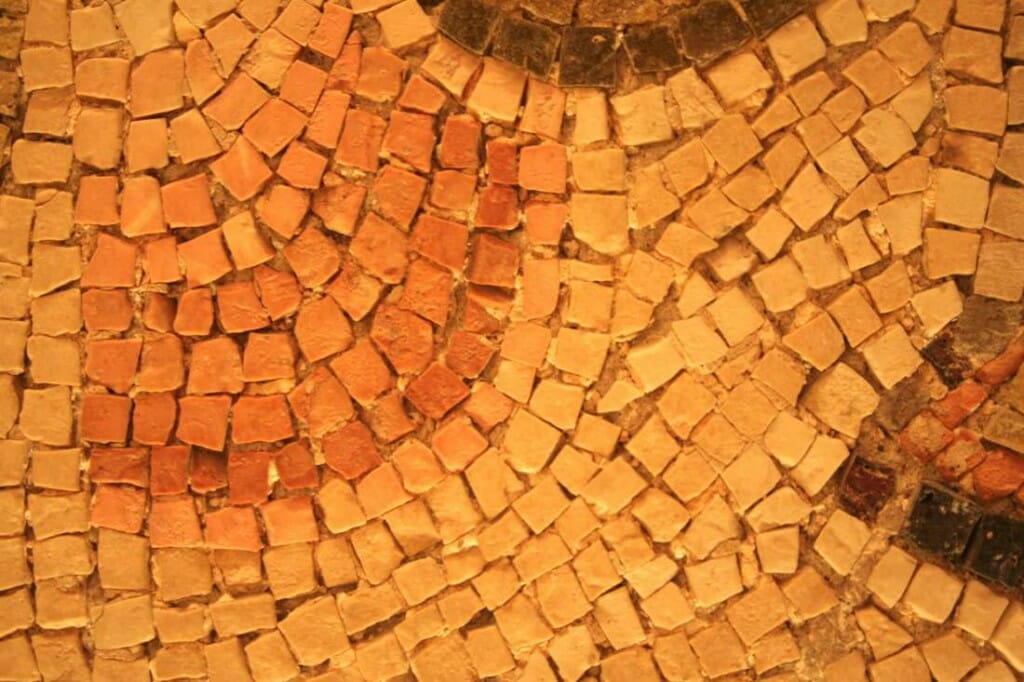
- The Byzantines usually used stone for the flesh parts, as it gave a greater range of hues and was more subtle than the glass “smalti”. For some reason, Ravenna is an exception to this rule, for most flesh is executed with smalti. Because the Cardiff work was to go outside I was advised to use smalti rather than stone for the flesh as it is more durable than the softer more porous stones suitable for flesh tones.
- Apart from the subtle flesh graduations, the palette of Byzantine works was quite limited (only one red was available for example, the so called Imperial Red). This more easily gave a unity to the whole than if many colours were used.
- Individual tesserae were not perfect. They often had bubbles and this gave character to the surface. And the gold leaf was often cracked (gold tesserae are made from gold leaf sandwiched between a thick back-glass, often coloured, and a thin front layer of glass).
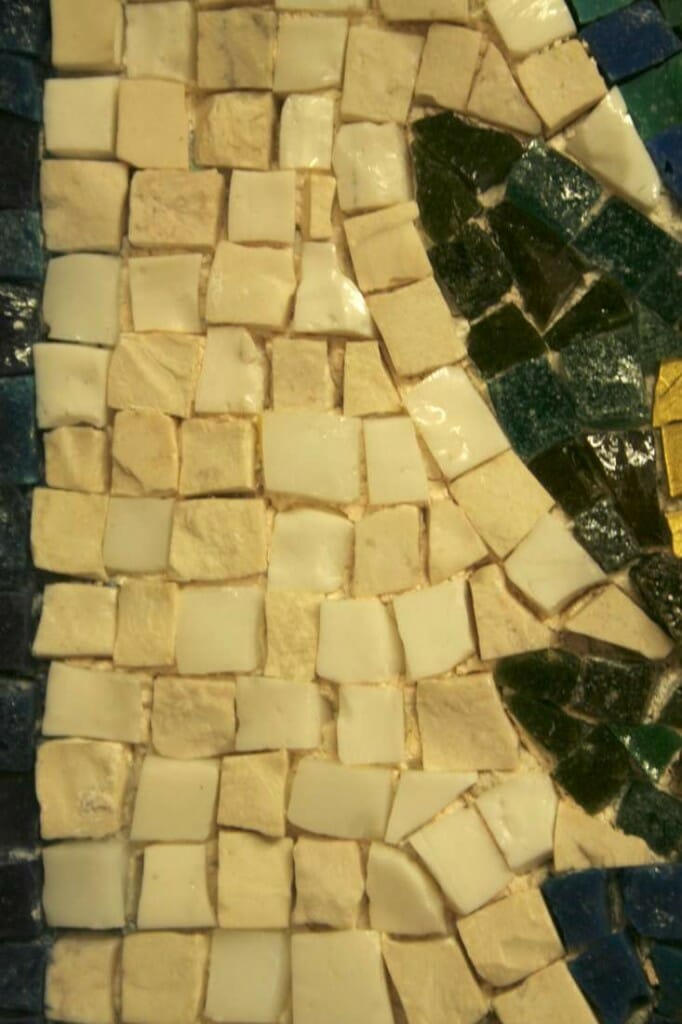
- Not all tesserae are shiny. Mosaicists of old contrasted matt (“sanded” in contemporary terminology) and glassy smalti, and as we mentioned above, stone was commonly used for flesh. Marble also, and sometimes even terracotta was used, as in the pots in the Moni Chora depiction of the miracle at Cana.
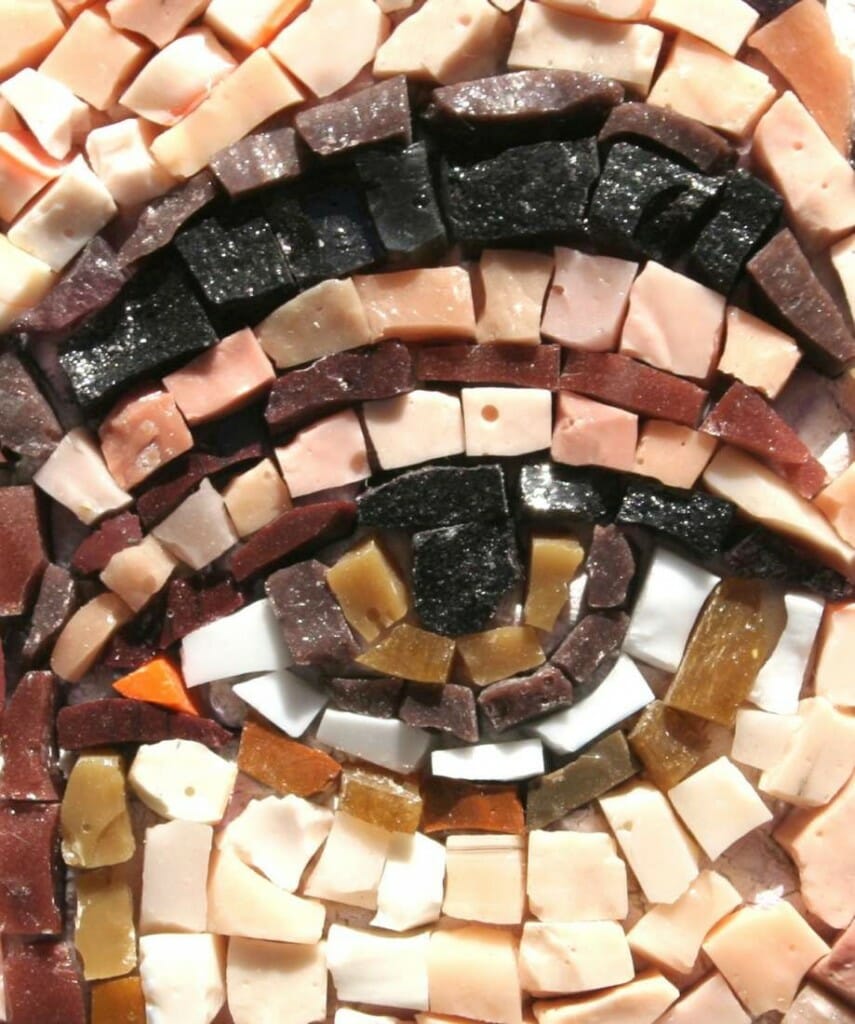
- The tesserae were hand cut, and although cut with precision were not regular. This is particularly important since this irregularity gives life to large areas of the same colour (see image above).
- Tesserae were laid with a direction in mind. This direction follows the line of the form and creates an internal rhythm to the work. This is particularly important with flesh.
- The spaces between the pieces were important. The masters did not usually pack the tesserae closely together. Restorers of the Transfiguration mosaic at St Katherine’s, Sinai, found that the lime plaster setting bed had, giornata by giornata, first been frescoed. This meant that the colour of the mortar exposed between the individual tesserae were an integral part of the completed work.
- Modelling was often done not using dark or lighter shades, but cool colours which recede, and warm colours which advance.
- Stone or smalti tesserae were sometimes interspersed within areas of gold or silver tesserae. This, ironically, makes the area appear to glitter more.

It is amazing to see such a beautiful mosaic. Many blessings.
Inspirational to say the least.
Excellent work, Sir. I saw some photos from this project of yours a while ago at NLM, I believe. May this icon be a beacon of light to that whole community.
I think this is beautiful.